Configuring a CSV Export
A CSV export allows you to extract specific product information off your shop.
Knowing this, you will decide:
- which data to export: creating the mapping
- which products to take into account: selecting categories
Creating the export script
From the top panel, click on the  icon to create the export script.
In the popup window, enter the name of the script and validate on OK
The line for the script is created and each column will need to be completed.

Creating the mapping
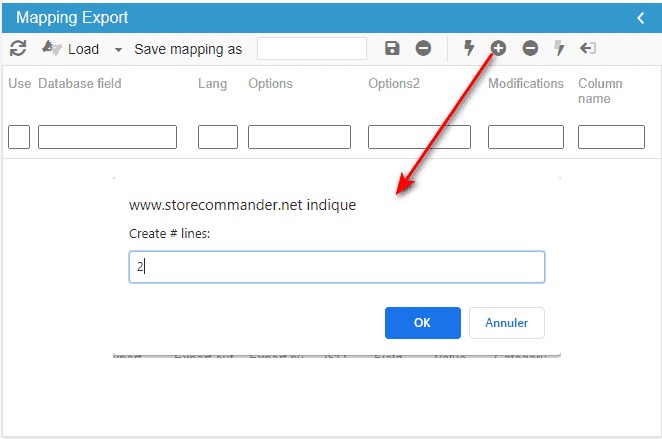
To add fields/columns that you wish to include in your export, click on the  icon to then enter the number of fields to add to your mapping, and validate oK.
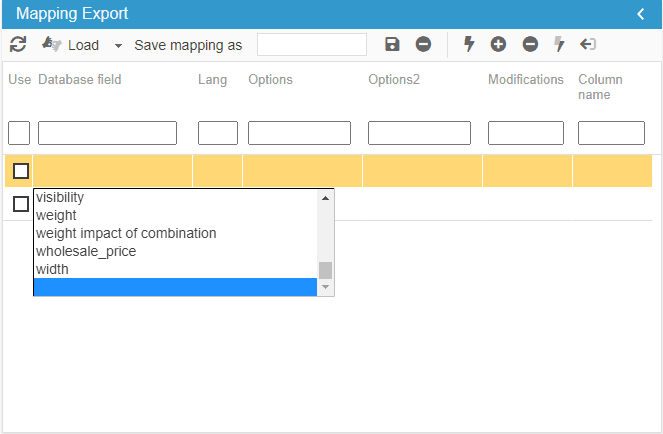
The number entered will add the corresponding number of lines in the mapping panel. Now you need to select each field on each line by double clicking the lines in column 'database field' to display the list of available fields to choose from.
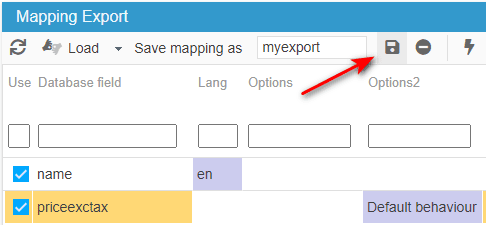
Don't forget to select the required options in the 'language' and 'options' columns when cells are on a color background.
Name and save your mapping (compulsory).
Selecting categories
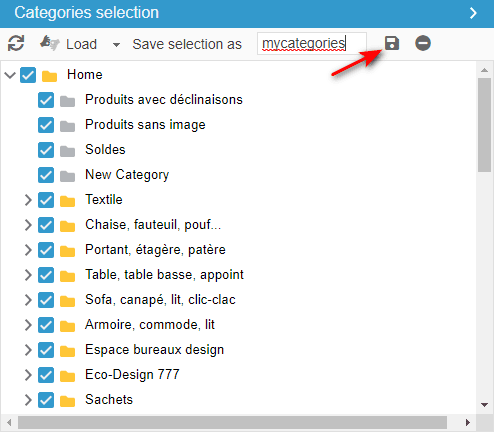
To take into account products during your export, you need to select the categories those products are in, simply by ticking the corresponding checkboxes.
Name and save your selection (compulsory).
Configuring the script
Back in the top panel, on the line of your script, select all necessary information in each column, one after the other: mapping, categories, name of exported file, and other options.
If you work in Multistore mode, select the concerned shop in the second column.

Running the export
All options are selected, you are now ready to export: click on the start icon 
Downloading the export file
Once the export process has finished, a download link will be displayed, onto which you can click to open/save the file.
Alternatively, you can click on the filename in the 'Exported files' panel to open/save the file.

Do not hesitate to also refer to the Export Checklist for more screenshots.
Related articles